Experiment 1: Production of an Acidic Solution by Contact of Water with Pyrite
Material:
- Beaker
- Glass rod or spoon
- Pyrite fragments
- Distilled water
For the following experiment, we will first prepare an acidic water sample. We will follow the procedure similar to the “Acid Rock Drainage” experiment. However, this time we will prepare a larger amount of sulfuric acid water.
- Pour 50ml of distilled water into a beaker.
- Add enough pyrite fragments to the beaker to cover the bottom and stir.
- Wait for 10-15 minutes, stirring occasionally.
Experiment 2: Dissolving Copper Ions from Malachite
Material:
- Beaker
- Glass rod or spoon
- Malachite fragments
- Acidic water solution from Experiment 1
- Pour the acidic water solution prepared in Experiment 1 into a clean beaker.
- Add several malachite fragments to the beaker, ensuring they are fully submerged in the acidic solution.
- Stir the mixture gently with a glass rod or spoon.
- Allow the mixture to sit for 10-15 minutes, stirring occasionally.
- Observe and note any changes in the solution, such as color changes indicating the dissolution of copper ions.

Experiment 3 - Variant 1: Analysis of Copper Content with a Photometer
Material:
- 2 cuvettes with screw caps
- Test tube rack
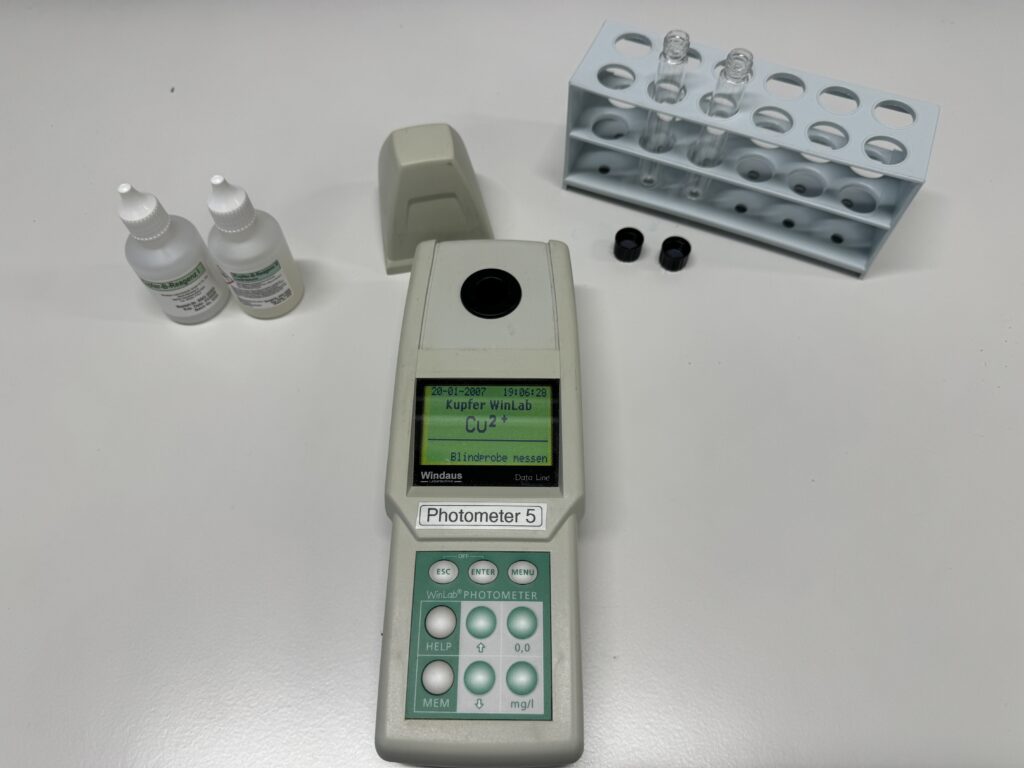
- Winlab photometer
- Glass rod or spoon
- Pyrite fragments
- Malachite (quartz)
- Test reagents: Copper detection
- Distilled water
In our project, we use the photometer and test reagents from Winlab/Windaus. Follow these steps:
Prepare the Samples:
- Pour 5ml of the water sample into a test tube and close it with the cap. This is your comparison sample.
- Pour 5ml of the water sample into another test tube.
Add Reagents:
- Add 10 drops of Reagent I to the second test tube. Close the cap and shake briefly.
- Add 10 drops of Reagent II to the same test tube. Close the cap and shake briefly. This is your test sample.
Wait:
- Allow the test sample to sit for 15 minutes.
Calibrate the Photometer:
- Select the “Copper WinLab” test on the photometer.
- Place the comparison sample in the photometer and close the lid. Press the “0.0” button to zero the photometer.
Measure the Copper Content:
- Place the test sample in the photometer and close the lid. Press the “mg/l” button.
- Read the value displayed on the screen and record it.

Experiment 3 - Variant 2: Aquarium Test (Colorimetric)
Material:
- Beaker
- 2 test tubes with screw caps
- Test tube rack
- Winlab photometer
- Glass rod or spoon
- Pyrite fragments
- Malachite (quartz)
- Test reagents: Copper detection
- Distilled water
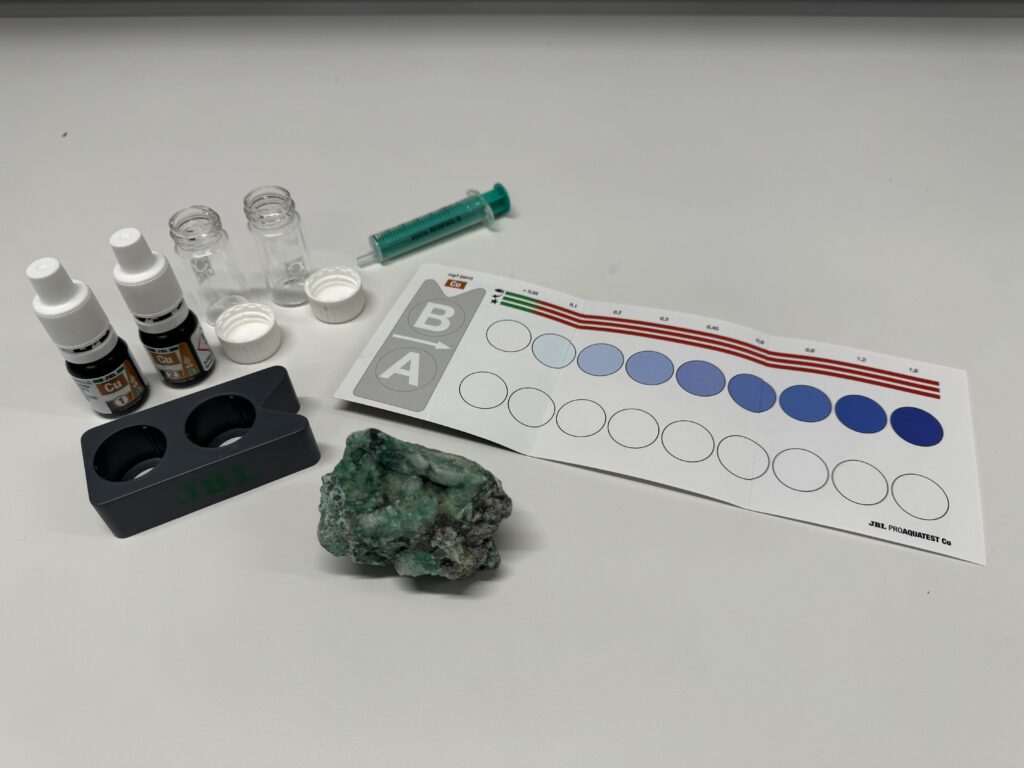
In our project, we use the “Pro JBL AQUATEST Cu” test.
- Pour 5ml of the water sample into one vial and close it with the cap. This is your comparison sample.
- Pour 5ml of the water sample into the second vial.
- Add 5 drops of Reagent I to the second vial. Close the cap and shake briefly.
- Add 5 drops of Reagent II to the same vial. Close the cap and shake briefly. This is your test sample.
- Wait for 15 minutes.
- Unscrew the cap and place the comparison sample vial into the dark stand in hole B.
- Unscrew the cap and place the test sample vial into the dark stand in hole A.
- Read the value using the color chart. Look into the vials from above. Adjust the holder on the color chart and record the value where both vials match in color.


